Incense has been used for centuries to create a soothing atmosphere, enhance meditation, and purify the air. A beautiful incense holder can elevate the experience, but they can be quite expensive. Why not create your own? In this guide, we’ll walk you through several DIY incense holder projects, suitable for all skill levels.
Choosing Your Material
The first step is to select a material. Here are a few popular options:
- Clay: Easy to work with, and it’s a classic choice for incense holders.
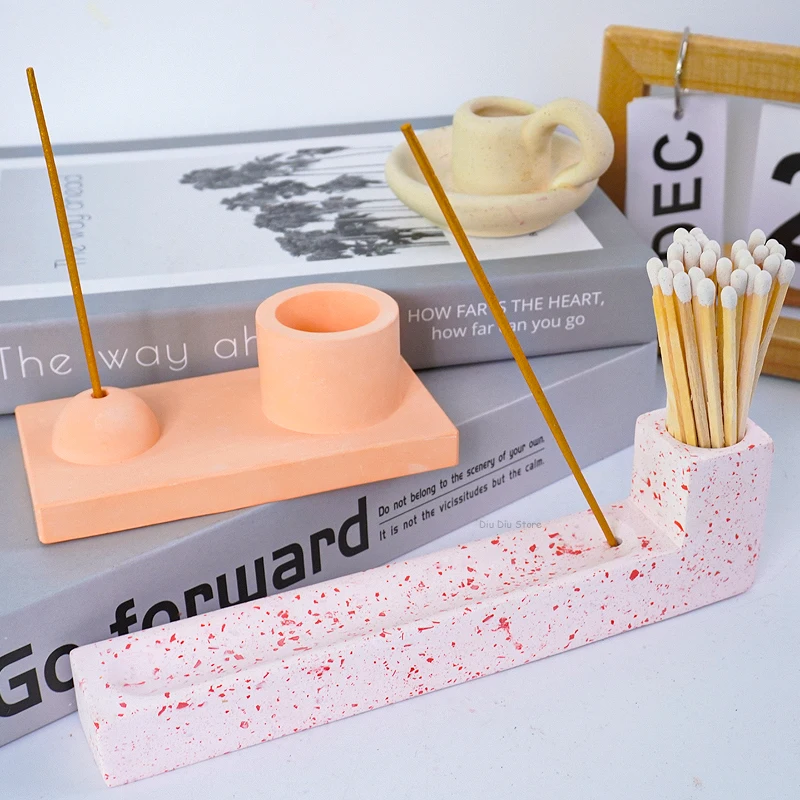
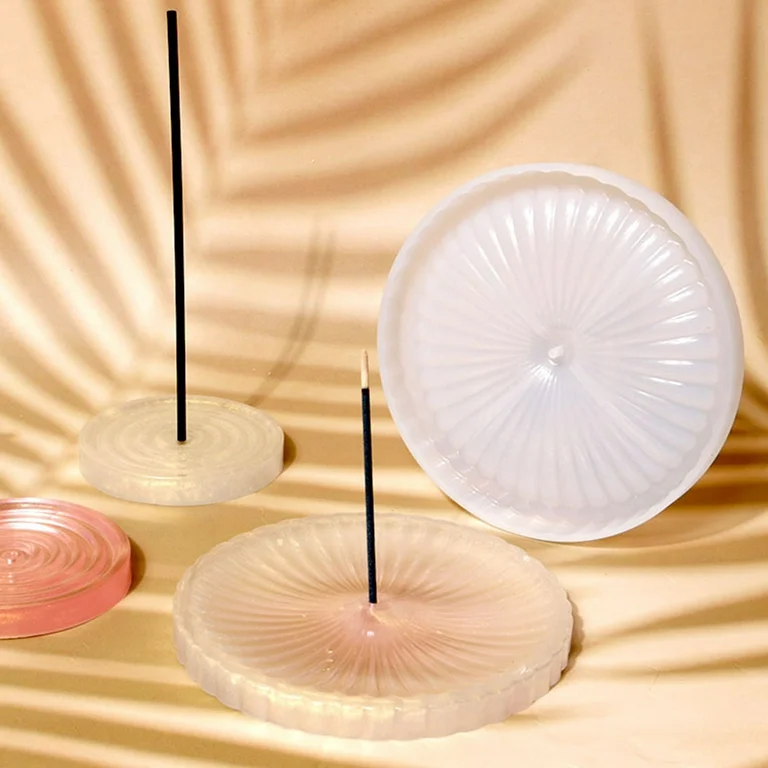
- Concrete: Durable and versatile, concrete can be molded into various shapes.
- Wood: Natural and warm, wood adds a rustic touch to your home.
- Glass: Transparent glass allows you to watch the incense burn.
- Seashells: For a beachy vibe, seashells can be used to create unique holders.
Basic Incense Holder: Clay
Materials:
- Air-dry clay
- Rolling pin
- Cutting tools (knife or cookie cutters)
- Paint (optional)
Instructions:
- Roll out the clay to your desired thickness.
- Use a knife or cookie cutter to shape the clay into your desired design (e.g., circle, square, heart).
- Create a small indentation in the center of the clay to hold the incense stick.
- Let the clay air dry completely.
- Paint the holder (optional).
Concrete Incense Holder
Materials:
- Concrete mix
- Mold (e.g., silicone mold, plastic container)
- Stirring stick
- Water
Instructions:
- Follow the instructions on the concrete mix package to mix the concrete and water.
- Pour the concrete into the mold.
- Tap the mold gently to remove air bubbles.
- Let the concrete set for 24-48 hours.
- Remove the holder from the mold.
Wooden Incense Holder
Materials:
- Wooden block
- Drill
- Sandpaper
- Stain or paint (optional)
Instructions:
- Drill a hole into the wooden block to hold the incense stick.
- Sand the block to smooth the edges.
- Stain or paint the holder (optional).
Glass Incense Holder
Materials:
- Glass jar or bowl
- Gravel or sand
- Small stones or seashells
Instructions:
- Fill the glass container with gravel or sand.
- Place small stones or seashells on top.
- Insert the incense stick into the gravel or sand.
Seashell Incense Holder
Materials:
- Seashells (various sizes)
- Glue
- Small bowl or dish
Instructions:
- Glue the seashells together to form a desired shape.
- Place the seashell creation in a small bowl or dish.
- Insert the incense stick into the center of the seashell arrangement.
Advanced Incense Holder Projects
For those looking for a more challenging project, consider these ideas:
- Mosaic Incense Holder: Create a colorful and intricate design using tiles or broken ceramics.
- Sculpted Incense Holder: Use clay or polymer clay to sculpt a unique and artistic holder.
- Macrame Incense Holder: Combine macrame techniques with beads or shells for a boho-chic look.
Design and assembly
Before you begin assembling your incense holder, it’s essential to have a clear design in mind. Consider the following factors:
- Size and shape: Determine the desired size and shape of your holder based on the incense sticks you’ll be using and your personal preference.
- Functionality: Ensure that the holder can securely hold the incense stick without tipping over.
- Aesthetics: Decide on the overall look and feel of your holder, taking into account your personal style and the surrounding decor.
Assembly Tips
Here are some general tips for assembling your incense holder:
- Use the right tools: Gather the necessary tools, such as a ruler, pencil, scissors, glue, or a drill, depending on your project.
- Measure carefully: Ensure accurate measurements to avoid mistakes and ensure a proper fit.
- Work slowly and steadily: Take your time to create a high-quality finished product.
- Test your design: Before finalizing your assembly, test the holder to make sure it functions properly and is stable.
Specific Assembly Techniques
The assembly process will vary depending on the materials and design you’ve chosen. Here are some common techniques:
- Gluing: For materials like wood, clay, or paper, use a suitable glue to secure the pieces together.
- Drilling: If you’re working with materials like wood or metal, you may need to drill holes for incense sticks or other components.
- Molding: For clay or concrete, use a mold to shape the material into your desired design.
- Sewing: If you’re creating a fabric or textile holder, you’ll need to sew the pieces together.
Troubleshooting
If you encounter any problems during the assembly process, don’t panic. Here are some common issues and potential solutions:
- Cracks or breaks: If your material is cracking or breaking, it may be too thin or fragile. Try using a thicker material or reinforcing the weak areas.
- Unstable holder: If your holder is tipping over, it may be unbalanced. Adjust the design or add weight to the base.
- Difficulty inserting incense: If the incense stick is too tight or loose, you may need to adjust the size of the hole.
Remember, practice makes perfect. If you’re not satisfied with your first attempt, don’t be afraid to start over or try a different approach. With patience and persistence, you can create a beautiful and functional incense holder that you’ll be proud to display in your home.
Tips for Creating Your Own Incense Holder
- Experiment with different materials and designs. Don’t be afraid to try new things.
- Consider the size of your incense sticks. Make sure the holder is large enough to accommodate them.
- Add personal touches. Incorporate elements that reflect your style and personality.
- Use your imagination. There are endless possibilities when it comes to creating incense holders.
Making a personalized or decorative holder
Once you’ve chosen your base material and design, it’s time to personalize your incense holder. Here are a few ideas:
- Engraving: If you’re working with wood, metal, or stone, consider engraving your initials, a favorite quote, or a meaningful symbol.
- Painting: Add a splash of color with custom paint designs. You could paint a scene, a pattern, or even a portrait.
- Decoupage: Use tissue paper or napkins to create a decorative collage on your holder.
- Mosaic: Assemble small pieces of tile, glass, or ceramic to create a unique mosaic design.
- Molding: If you’re working with clay or concrete, mold it into a shape that represents something special to you.
Decorative Ideas
Here are some additional decorative ideas to enhance your incense holder:
- Add beads or stones: For a bohemian look, decorate your holder with beads, stones, or crystals.
- Use natural elements: Incorporate natural elements like feathers, shells, or dried flowers for a rustic feel.
- Add a light: Illuminate your holder with a small LED light for a cozy ambiance.
- Create a themed holder: Design your holder to match a specific theme, such as nautical, vintage, or minimalist.
Examples of Personalized and Decorative Incense Holders
- A heart-shaped clay holder with a painted floral design and a small crystal in the center.
- A wooden block with a laser-engraved quote and a hand-painted abstract pattern.
- A glass jar filled with colorful sand, seashells, and a small LED light.
- A concrete holder molded into the shape of a favorite animal, painted in bright colors and decorated with small stones.
Remember, the possibilities are endless. By combining these ideas and letting your creativity flow, you can create a truly unique and personalized incense holder that reflects your individual style and taste.
Making your own incense holder is a rewarding and creative project. With a little imagination and effort, you can create a beautiful and functional piece that complements your home decor. Whether you’re a seasoned DIYer or just starting out, there’s an incense holder project out there for you. So, gather your materials and let your creativity flow!