Incense, the fragrant smoke that has captivated cultures for millennia, has been used for everything from religious ceremonies to everyday relaxation. While store-bought incense is widely available, there’s a unique satisfaction and control that comes with making your own. This guide will walk you through the steps of creating homemade incense, from choosing your ingredients to crafting your final product.
Understanding the Basics of Incense Making
Before diving into the creative process, it’s essential to grasp the fundamental elements that make up incense. Traditionally, incense consists of a base material, a binder, and aromatic substances. The base material provides the structure, the binder holds everything together, and the aromatic substances impart the desired scent.
Common Base Materials:
- Wood: Sandalwood, cedar, and palo santo are popular choices for their natural fragrances.
- Resins: Frankincense, myrrh, and copal are often used for their deep, earthy aromas.
- Charcoal: Activated charcoal is a neutral base that allows the aromatic substances to shine.
Binders:
- Gum Arabic: A natural gum derived from acacia trees, it’s a common binder due to its adhesive properties.
- Honey: Honey acts as both a binder and a sweetener, adding a touch of sweetness to the incense.
- Water: Water is a simple and effective binder, though it may require additional drying time.
Aromatic Substances:
- Essential Oils: Lavender, rose, jasmine, and citrus oils are popular choices for their potent fragrances.
- Dried Herbs and Flowers: Chamomile, rosemary, and lavender can add natural scents and visual appeal.
- Spices: Cinnamon, cloves, and cardamom offer warm, spicy aromas.
Choosing the Right Ingredients
The key to creating exceptional homemade incense lies in selecting the right combination of ingredients. Consider the following factors:
- Desired Scent: What kind of aroma are you aiming for? Sweet, floral, spicy, or something else?
- Intended Use: Will the incense be used for meditation, relaxation, or spiritual purposes?
- Personal Preferences: Ultimately, the best ingredients are those that you enjoy and find appealing.
Experimentation is Key: Don’t be afraid to try different combinations and ratios until you find a formula that suits your taste.
Preparing Your Ingredients
Before mixing the ingredients, ensure they are properly prepared. If using dried herbs or flowers, crush them gently to release their fragrance. Essential oils can be used directly, but it’s often helpful to dilute them with a carrier oil like jojoba or almond.
Mixing the Ingredients
There are several methods for mixing incense ingredients:
- Manual Mixing: Combine the base material, binder, and aromatic substances in a bowl and mix thoroughly using your hands or a spoon.
- Mortar and Pestle: For a more intimate experience, grind the ingredients together in a mortar and pestle.
- Blender: If you’re working with larger quantities, a blender can be used to quickly and efficiently mix the ingredients.
Shaping the Incense
Once the ingredients are thoroughly mixed, it’s time to shape the incense. Here are a few popular methods:
- Cone Incense: Roll the mixture into a cone shape and secure it with a string or rubber band.
- Stick Incense: Roll the mixture into a long, thin shape and allow it to dry on a rack.
- Coil Incense: Wind the mixture into a spiral shape and secure it with a string.
Drying the Incense
Drying is a crucial step in the incense-making process. Allow the incense to dry completely in a warm, dry place. This may take several days or even weeks, depending on the thickness and moisture content of the mixture.
Tips for customization and experimentation with scents
Materials:
- Base material (e.g., sandalwood powder, charcoal powder)
- Binder (e.g., gum arabic, honey)
- Aromatic substances (e.g., essential oils, dried herbs)
- Water
- Small bowl
- Spoon
- Rolling surface
- Parchment paper
- String or rubber bands
Instructions:
Prepare the Ingredients:
- Grind base material: If using whole sandalwood or charcoal, grind it into a fine powder using a mortar and pestle or coffee grinder.
- Mix binder and water: In a small bowl, combine gum arabic or honey with water. Stir until well combined.
Create the Incense Mixture:
- Combine ingredients: Add the base material, aromatic substances, and binder mixture to the bowl. Stir until well combined. The consistency should be similar to wet clay.
- Adjust consistency: If the mixture is too dry, add more water. If it’s too wet, add more base material.
Shape the Incense:
- For sticks:
- Roll the mixture into a long, thin shape on a parchment paper-covered surface.
- Allow to dry overnight or for several days.
- Once dry, cut the sticks to your desired length.
- For cones:
- Roll the mixture into a cone shape.
- Secure the base with a string or rubber band.
- Allow to dry overnight or for several days.
Dry the Incense:
- Place in a warm, dry place: Find a location with good air circulation, such as near a window or fan.
- Check regularly: Monitor the drying process and adjust the location if needed.
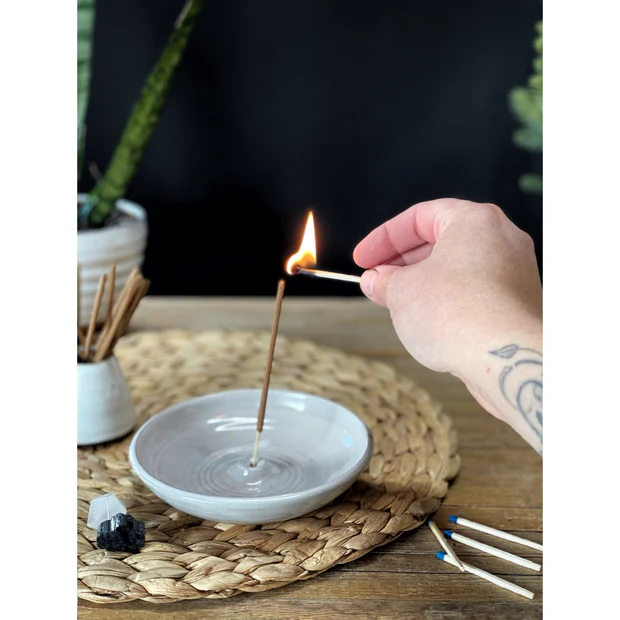
Test the Incense:
- Light a small piece: Once completely dry, light the end of a stick or cone.
- Observe the burn: If the incense burns evenly and emits a pleasant aroma, it’s ready to use.
Tips:
- Experiment with different ingredients: Try various combinations of base materials, binders, and aromatic substances to create unique scents.
- Use high-quality ingredients: For the best results, opt for pure essential oils and natural base materials.
- Store incense properly: Keep it in a cool, dry place away from direct sunlight.
- Be mindful of safety: Always burn incense in a safe and well-ventilated area.
By following these steps, you can create beautiful and fragrant homemade incense sticks and cones. Enjoy the process and the delightful aroma they bring to your home!
Testing and Refining
Once the incense is dry, it’s time to test it. Light a small piece and inhale the fragrance. If the scent is too strong or weak, adjust the ratio of aromatic substances in your next batch.
Purifying and cleansing spaces
here is an article about homemade incense that focuses on its purifying and cleansing properties:
Homemade Incense: Purifying and Cleansing Spaces
Incense has been used for centuries to purify and cleanse spaces. The fragrant smoke is believed to have the power to remove negative energy, promote spiritual well-being, and create a sense of peace and tranquility. While store-bought incense is widely available, there is something special about making your own. Not only is it more affordable, but it also allows you to customize the blend to your specific needs and preferences.
How to Make Homemade Incense
There are many different ways to make homemade incense. Here are a few basic steps:
- Choose your ingredients. The most common ingredients for homemade incense are herbs, spices, and essential oils. Some popular choices include lavender, rosemary, sage, sandalwood, frankincense, and myrrh.
- Grind the herbs and spices. If you are using whole herbs or spices, grind them into a fine powder using a mortar and pestle or coffee grinder.
- Mix the ingredients. Combine the herbs, spices, and essential oils in a bowl. The ratio of ingredients will vary depending on your desired scent and strength.
- Add a binder. A binder is a substance that helps hold the ingredients together. Common binders include water, honey, and egg whites.
- Shape the incense. Once the ingredients are mixed, shape the incense into cones or sticks.
- Dry the incense. Allow the incense to dry completely before using it. This can take several days or weeks, depending on the size and thickness of the incense.
How to Use Homemade Incense
Once your incense is dry, you can use it to purify and cleanse your space. Simply light a piece of incense and allow the smoke to fill the room. You can also use incense to create a relaxing atmosphere during meditation or yoga.
Benefits of Homemade Incense
There are many benefits to using homemade incense. Here are a few:
- It is more affordable than store-bought incense.
- It is customizable to your specific needs and preferences.
- It is natural and non-toxic.
- It can help to purify and cleanse your space.
- It can promote relaxation and spiritual well-being.
Precautions
When using incense, it is important to take precautions to avoid fire hazards. Never leave a burning incense stick unattended. Keep it away from flammable materials and make sure it is extinguished completely before disposing of it.
In addition, some people may be sensitive to the smoke from incense. If you have respiratory problems or allergies, it is best to avoid using incense altogether.
Homemade incense is a great way to purify and cleanse your space. It is also a fun and creative project that you can enjoy with friends and family. By following the simple steps outlined in this article, you can create your own unique and fragrant incense blends.
Tips for Creating High-Quality Incense
- Quality Ingredients: Use high-quality ingredients to ensure a superior product.
- Experimentation: Don’t be afraid to experiment with different combinations and ratios.
- Patience: Incense making requires patience, especially when it comes to drying and testing.
- Storage: Store your homemade incense in a cool, dry place to maintain its fragrance and quality.
By following these guidelines and embracing the creative process, you can craft your own unique and aromatic incense blends. Enjoy the journey of discovery as you explore the world of homemade incense making.