Introduction to Homemade Incense Crafting
Making your own incense at home offers a deeply personal aromatic journey. It’s an art that brings the essence of nature’s fragrances into your living space, and a craft that allows for creativity and personalization. In the process of crafting incense, individuals can select from a plethora of natural ingredients, such as herbs, resins, and essential oils, to create a unique scent profile that caters to their preferences and intended use.
By learning how to make your own incense, you not only engage in an ancient practice cherished by many cultures but also gain control over the components and quality of the incense produced. Whether for meditation, relaxation, or as a delightful homemade gift, the crafting of incense can be both a meditative and rewarding experience.
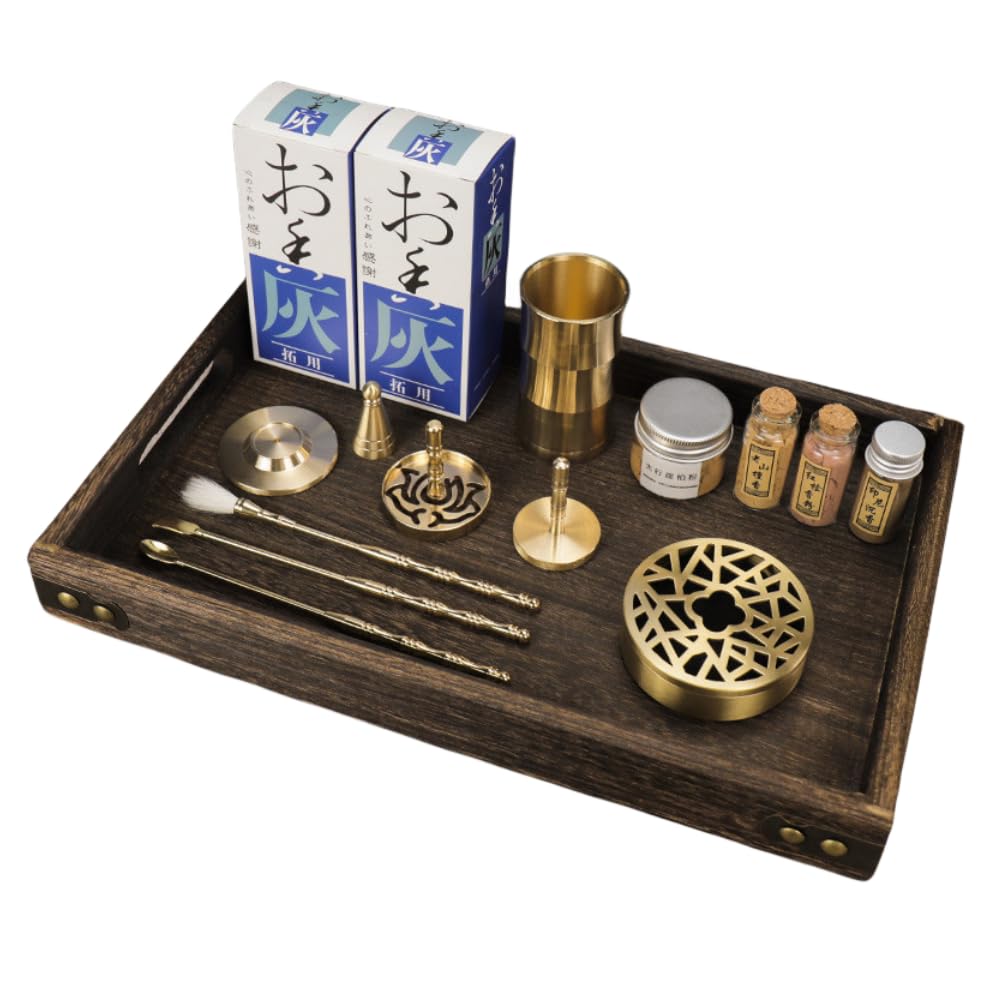
Gathering the Essential Materials
Embarking on your incense-making journey begins with gathering essential materials. Start by sourcing a variety of natural aromatics, which serve as the soul of your incense. Select herbs like lavender for relaxation, or rosemary for cleansing. Resins such as frankincense or myrrh add depth and longevity to your scents. Essential oils can also be incorporated for a concentrated aroma.
Next, acquire a base for your incense, such as makko powder, which will act as a combustible binding agent for sticks or cones. This natural material ensures a consistent burn.
You will also need tools like a mixing bowl, preferably glass or ceramic, to blend your ingredients. Mortar and pestle or a grinder become vital for crushing and combining your chosen botanicals into a fine powder.
To mold your shapes, whether sticks or cones, simple items like bamboo skewers or cone molds are necessary. And don’t forget parchment paper or a non-stick surface for drying out your creations.
Lastly, consider storage options such as airtight containers to preserve the freshness and potency of your finished incense. With these materials ready, creating your own incense becomes an accessible and enjoyable craft.
The Role of Aromatic Ingredients
The heart of any incense is its aromatic ingredients. These natural elements are more than just fragrant additives; they are the essence that defines the character and purpose of your incense. Each herb, resin, and essential oil carries its own unique properties and benefits, which can affect mood, atmosphere, and health.
Herbs such as sage and palo santo are renowned for their purifying properties, making them ideal for cleansing rituals. Resins like frankincense promote relaxation and can enhance meditation practices. Floral notes from lavender or rose petals can create soothing and romantic atmospheres.
When selecting ingredients, consider the desired outcome. For grounding and earthy scents, choose ingredients like vetiver or patchouli. For invigorating freshness, opt for citrus elements or eucalyptus. The possibilities are endless, and each combination can lead to a unique aromatic journey.
It is essential to balance your scents, mixing base, middle, and top notes to achieve a harmonious blend. The base notes provide depth and are often the last to dissipate, while top notes are noticed first but are more fleeting. Middle notes tie the blend together and are critical to a well-rounded fragrance.
Remember to source high-quality, natural ingredients for the best results. Synthetic substitutes can compromise your incense’s purity and the overall sensory experience. By carefully choosing and balancing your aromatic ingredients, you create a signature scent that is uniquely yours and brings a touch of personal serenity or vitality to any space.

Preparing Your Incense Base: Makko Powder
When crafting homemade incense, the base is crucial for binding and burning. Makko powder, derived from the bark of the Thunbergia tree, serves as an ideal base. It’s a natural binder and combustible material that supports a smooth and consistent burn.
To start, measure the exact amount of Makko powder needed, depending on the volume of incense you’re making. Usually, it forms about 10-30% of the total blend. Grind your aromatic ingredients into a fine powder before mixing with the Makko to ensure uniformity.
After grinding, slowly add water to the Makko and aromatic blend. Mix well until you achieve a dough-like consistency. The aim is to create a pliable blend that’s moist but not overly wet. If the mixture is too dry, it won’t hold together; if too wet, it may not burn properly. Patience and precision are key here.
Knead the mixture well, then let it rest momentarily before shaping. This resting period allows the Makko to fully absorb the scents from your other ingredients, enhancing the overall quality.
By preparing your incense base with care and attention to detail, you set a solid foundation for a high-quality homemade incense experience.
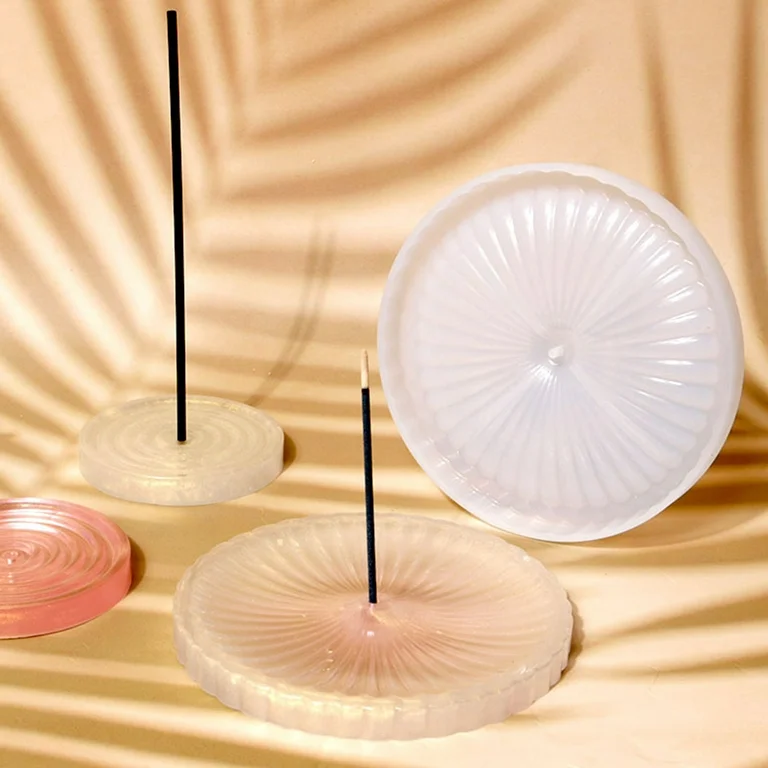
Crafting Incense Sticks: A Step-by-Step Guide
Crafting your own incense sticks is a simple but rewarding process. Start by laying out your materials: finely ground aromatic ingredients, Makko powder, water, and bamboo skewers. First, mix your dry ingredients with the Makko powder. Aim for about 10-30% Makko in your blend for an even burn.
With your dry mix ready, gradually add water. You want to reach a doughy, workable consistency. Do this step slowly to prevent the mixture from becoming too wet, which could hinder the burning process. Knead the mix well to ensure all elements are fully combined.
Now, take small amounts of the dough and roll them around the bamboo skewers. You can also roll the mixture into sticks by hand on a non-stick surface if you’re not using skewers. Strive for uniform thickness to ensure even burning.
Once shaped, place the sticks on a tray covered with parchment paper. Allow them to air dry in a space out of direct sunlight. Drying time can vary, but usually takes a couple of days. Sticks should be completely dry and firm to the touch before use.
By following these steps, you’ll create incense sticks that offer a personalized aromatic experience. Enjoy crafting and burning them for a truly unique and natural scent in your home.
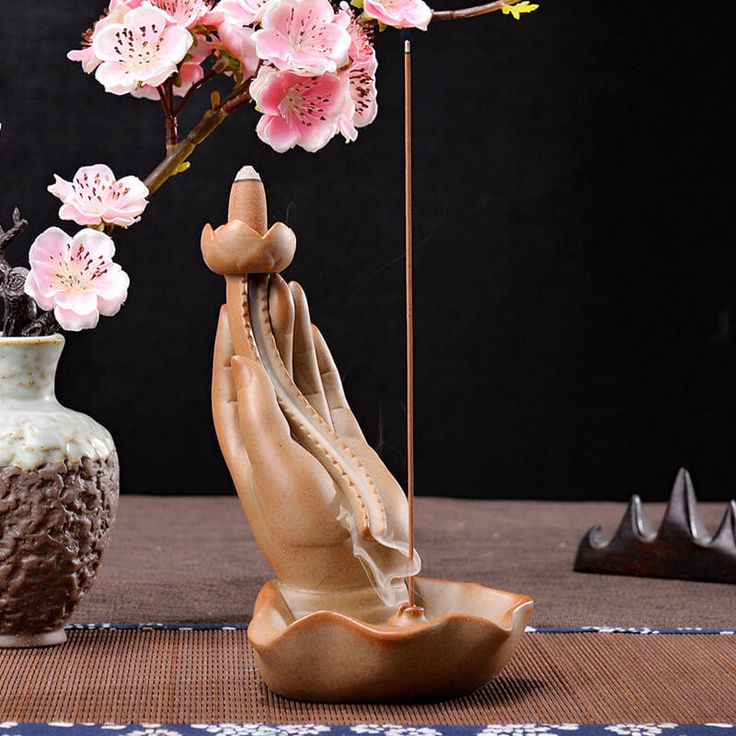
Crafting Incense Cones and Molds
Creating incense cones and molds is similar to making sticks but has its differences. Begin with your powdered aromatic blend and Makko powder, adjusting for a 10-30% Makko ratio. Add water gradually, aiming for a dough-like consistency that’s neither too dry nor too wet. For cones, shape small portions of the mixture into pyramids by hand or using cone molds. If making molds, press the mixture into your chosen shapes, ensuring they’re compact and uniform.
Once shaped, arrange the cones or molds on a non-stick surface or parchment paper and allow them to dry. This process may take several days, depending on factors like humidity and air circulation. Ensure they’re completely dried before attempting to burn them, which you can test by touching; they should feel firm and hard to the touch.
Crafting cones and molds offers a creative opportunity to produce incense in various shapes and sizes, perfect for different occasions. Experiment with different forms to add a personalized touch to your homemade incense collection. Additionally, cones and molds can evenly release scent when burned, adding to the ambiance of your environment.
Tips for Perfecting the Scent Blend
Creating the ideal scent blend in homemade incense involves more than just selecting fragrant ingredients. It’s about finding the right balance and harmony between the different notes that each component brings to the mixture. Here are tips to help you perfect your incense scent blend:
- Start with a clear intention for your incense’s purpose. It could be for relaxation, focus, or energy.
- Introduce base notes like sandalwood or cedarwood, which are strong and long-lasting, to ground your blend.
- Add middle notes, or ‘heart’ notes, such as rose or chamomile to bridge the transition between the heavy base and the light top notes.
- Incorporate top notes, the scents that you notice first, such as lavender or citrus, to give an immediate impression.
- Keep the blend simple. Start with three to four scents and slowly build from there.
- Test the scent by burning a small amount. Adjust the ratios of ingredients as needed.
- Document every alteration so you can replicate or tweak the recipe in future sessions.
- Let the blend sit for a few days to marry the scents before a final assessment.
Follow these steps and stay patient. With time, you’ll develop the skill to create beautifully balanced incense blends.
Drying and Curing Your Incense Creation
Once you’ve shaped your incense into sticks, cones, or molds, the next crucial step is drying and curing. Proper drying is necessary to ensure a good burn and to prevent your incense from molding. Begin by placing your incense on a non-stick surface or parchment paper in a cool, dry area. Avoid damp locations and direct sunlight as they can affect the drying process.
The drying time varies based on humidity, the size and thickness of your creations, and air circulation. Small cones may take a couple of days to dry, while thicker sticks might need up to a week. You’ll know they’re ready when they feel firm and can no longer be easily bent.
Curing your incense allows the scents to mature and develop a richer aroma. After drying, store your incense in an airtight container for at least a few weeks before use. This waiting period can significantly enhance the fragrance quality. It’s an exercise in patience but well worth the wait for the improved scent experience.
Regularly check your stored incense for any signs of mold or dampness, especially in climates with high humidity. If you find any, remove the affected pieces and examine your storage method to ensure a dry environment. With your incense properly dried and cured, you can look forward to a satisfying burn and a truly homemade aromatic delight.
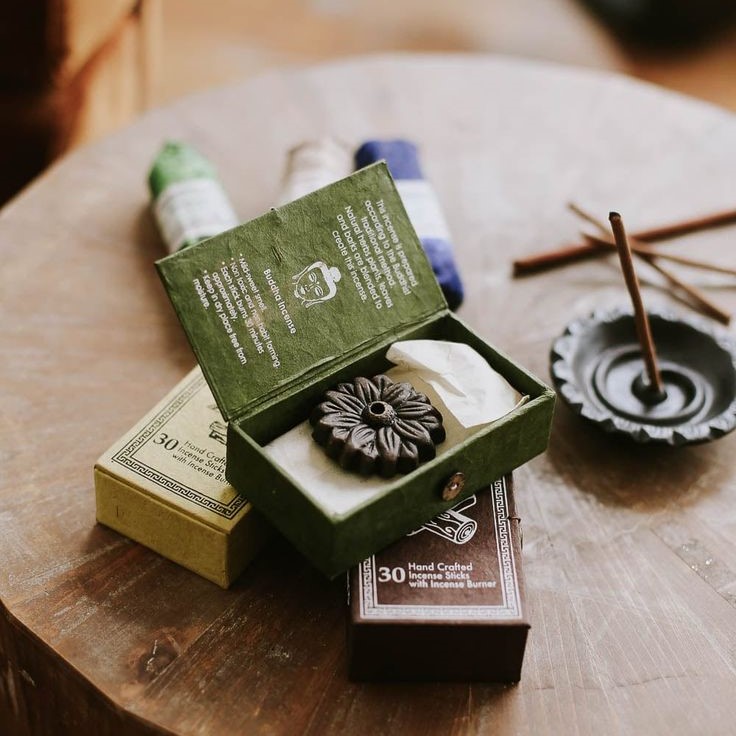
Creative Ideas for Packaging and Gifting Incense
When your handcrafted incense is dried and ready, it’s time to package it beautifully for personal use or gifting. Elegantly packaged incense makes a thoughtful and aromatic gift that’s perfect for many occasions. Here are some creative packaging ideas:
Glass Jars:
Use small glass jars to store incense sticks or cones. The jars keep the incense fresh, and their transparency showcases the natural colors. Tie a ribbon around the neck or add a custom label for a personalized touch.
Fabric Pouches:
Craft fabric pouches using breathable materials like cotton or linen. These are great for smaller incense items and add a rustic charm. You can hand-stitch them or use drawstrings for easy opening.
Decorative Boxes:
Cardboard or wooden boxes can be painted or decorated with motifs to match the incense’s scent theme. Line the boxes with parchment paper or tissue for an extra layer of elegance.
Personalized Labels:
Create labels with the incense’s name, ingredients, and usage instructions. Custom stickers or hand-written tags add a warm, personal detail to each gift.
Washi Tape:
Seal your incense packages with washi tape for a pop of color and pattern. It’s a fun way to secure wrapping paper or to decorate plain packaging.
Recycled Materials:
Consider eco-friendly options like recycled paper tubes or cardboard rolls for packaging incense sticks. It’s creative and sustainable.
Whether giving away your homemade incense to friends and family or enjoying it yourself, thoughtfully designed packaging will enhance the overall experience. Enjoy finding creative ways to wrap and share your aromatic masterpieces.
Preserving Incense: Storage and Longevity
Proper storage is key to preserving the quality and longevity of your homemade incense. To maintain freshness and potency, store your incense in airtight containers, away from direct sunlight and moisture. You can use resealable plastic bags, glass jars, or tin boxes, which provide protection against humidity and light. Label the containers with the incense type and the date it was made to keep track of its age.
For incense sticks and cones, consider wrapping them individually in parchment paper before placing them in the storage container. This helps absorb any excess oils and protects the delicate scents.
If you live in a particularly humid area, include silica gel packs in your storage containers to absorb moisture and prevent mold growth. Ensure that your storage area is cool and dry, as heat can cause the aromatic ingredients to lose their potency more quickly.
With proper care, your handmade incense can retain its fragrance for several months. Periodically check on your incense to ensure it remains dry and free from mold. By following these storage guidelines, you’ll be able to enjoy the full aromatic experience of your incense creation each time you light it.